Finally, we get to the fun part; let's pick up that hook and actually start to crochet!
Grab your hook, and hold it pretty much the same way you hold a pen or a fork. You need to hold on to it tightly enough to control it easily, but keep your fingers relaxed! Below are 2 options for holding the hook. As for holding the yarn, there are many ways. But once again it comes down to what feels right to you!
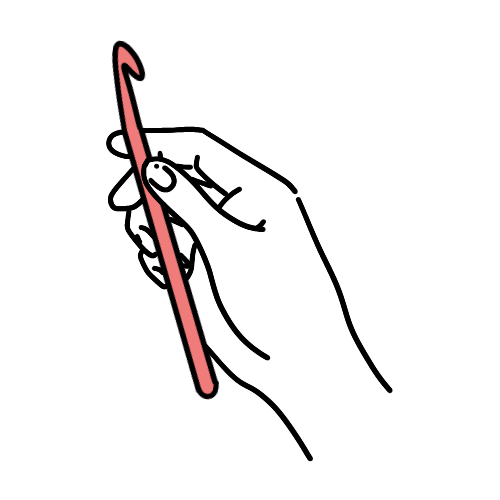
The first position is similar to holding a knife, and your hand will grip over the hook. Place your hand over the crochet hook with the handle resting against the palm of your hand and your thumb and third finger gripping the thumb rest.
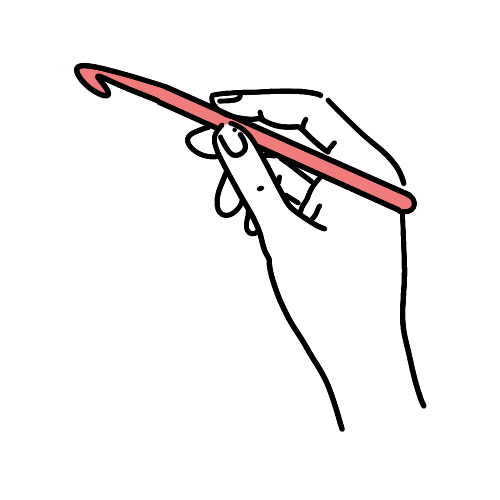
The second position is similar to holding a pencil. Hold the crochet hook as you would a pencil with your thumb and index finger on the finger hold, and the third finger near the tip of the hook.
Crochet begins with a single loop and then builds from there. Now that you have the hook worked out, it's time to make that first loop!
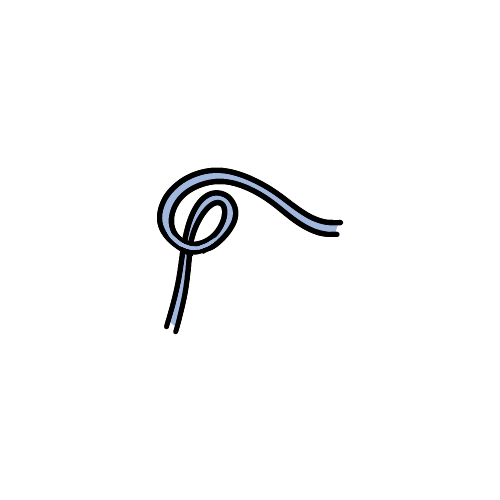
Leaving a tail of about 6 inches, make a loop.
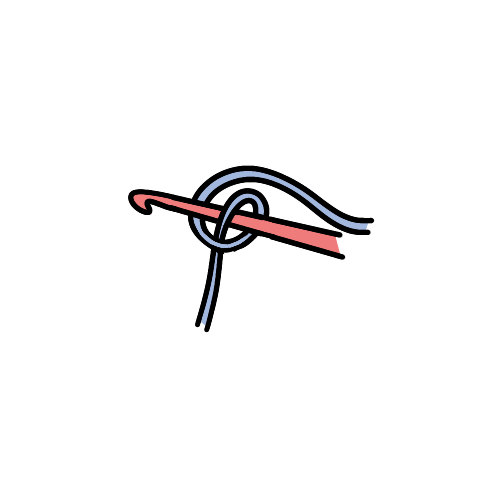
With your crochet hook, reach through the loop and catch the tail end with the hook.
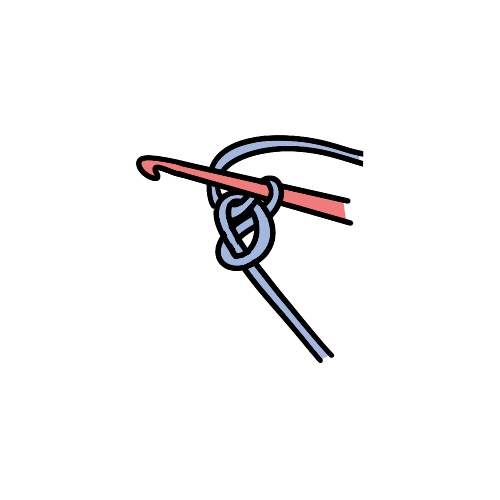
Pull the yarn toward you through the loop.
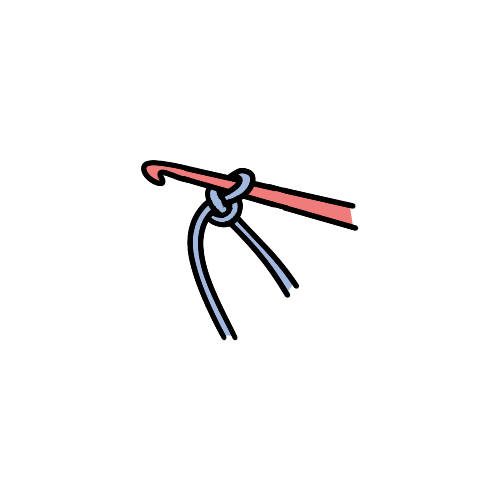
Tighten the knot on the hook.
Once you have a slip knot on your hook, you can start to crochet. Keep in mind, everything starts with the beginning chain.
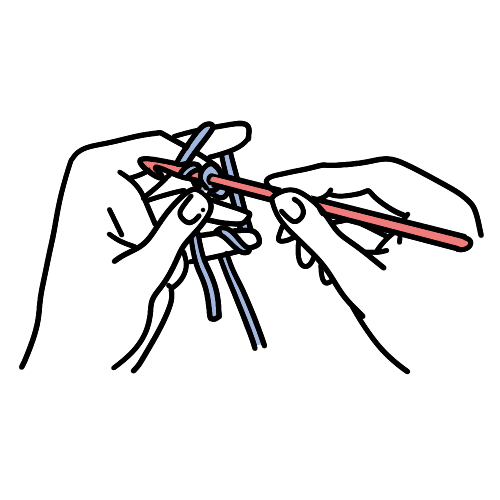
Bring the yarn over the hook from the back to front, catch it with the hook, then pull it through the slip knot. Slip the loop you've just made to the shank of the hook, or the stitch will be too small.
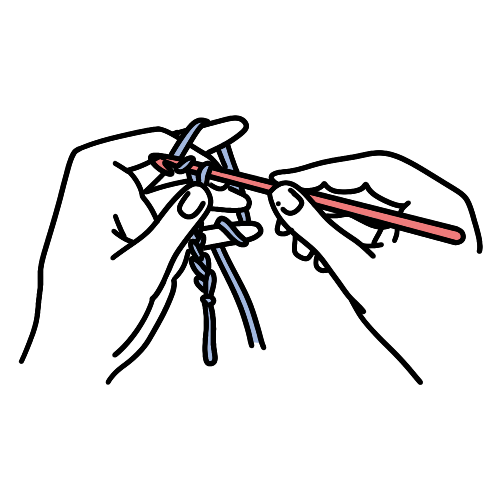
Repeat the process. Try to get nice even tension. If you pull too hard the chain will be too tight. If you don't give it enough tension, it wil be too loose!